How to Create a Page using WP Bakery Page Builder
On This Page
WP Bakery Page Builder
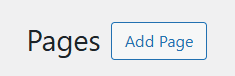
Step 1: Finding the ``Add Page`` button
From the WordPress dashboard, go to WooCommerce → Pages → All Pages. This opens the full page list where you can search, filter, or scroll to find the specific page you want to update (if needed). At the top of the page click on “Add Page”.

Step 2 (Optional): Gutenberg Editor
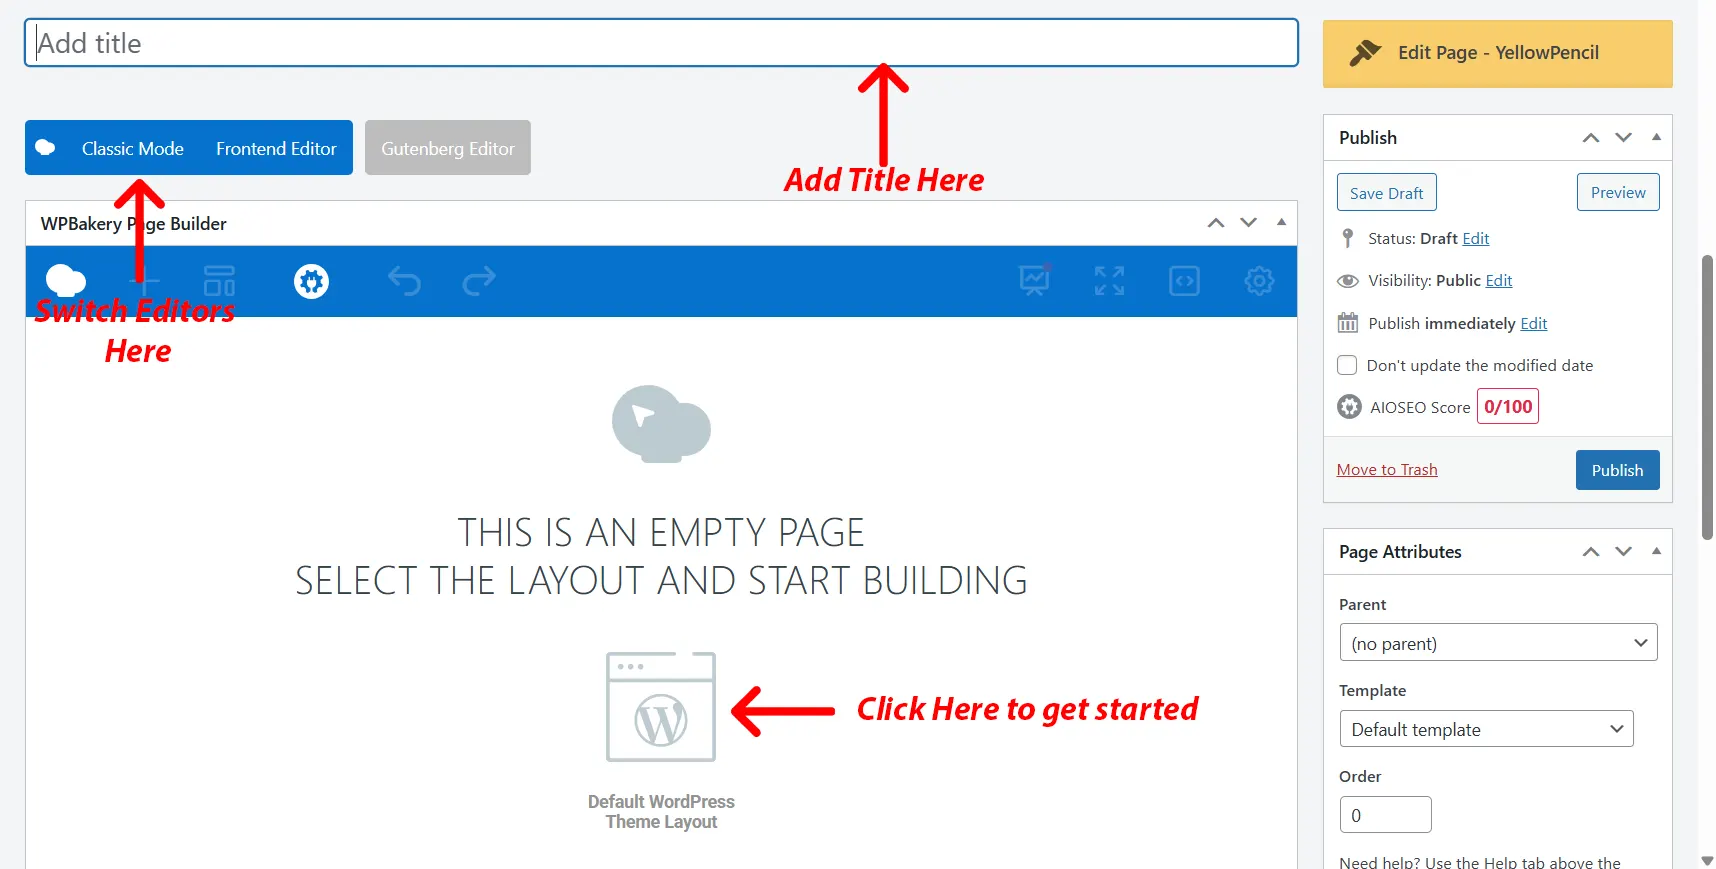
After clicking on “Add Page”, the Gutenberg Page Editor may open depending on your website’s current setup. At the top left of the page, there will be a button that says WPBakery Page Builder, clicking on it will take you to the respective page builder.

Step 3: Basic Information
On the Page Builder, you will see the option to add a title to your page as well as the option to choose whether you want to build the page as code or on the frontend editor. For simplicities’ sake, the backend editor is the easiest to get used to.
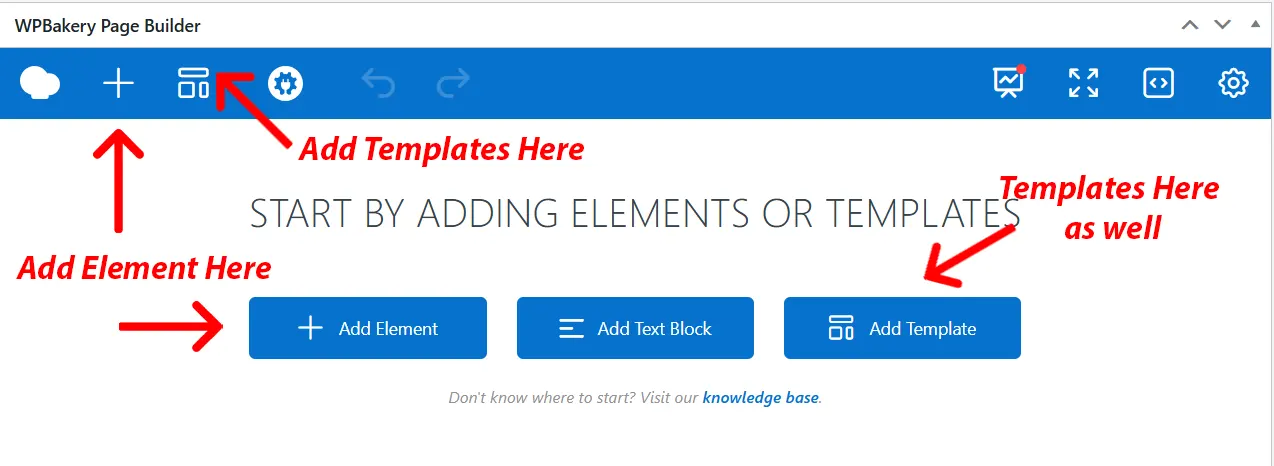
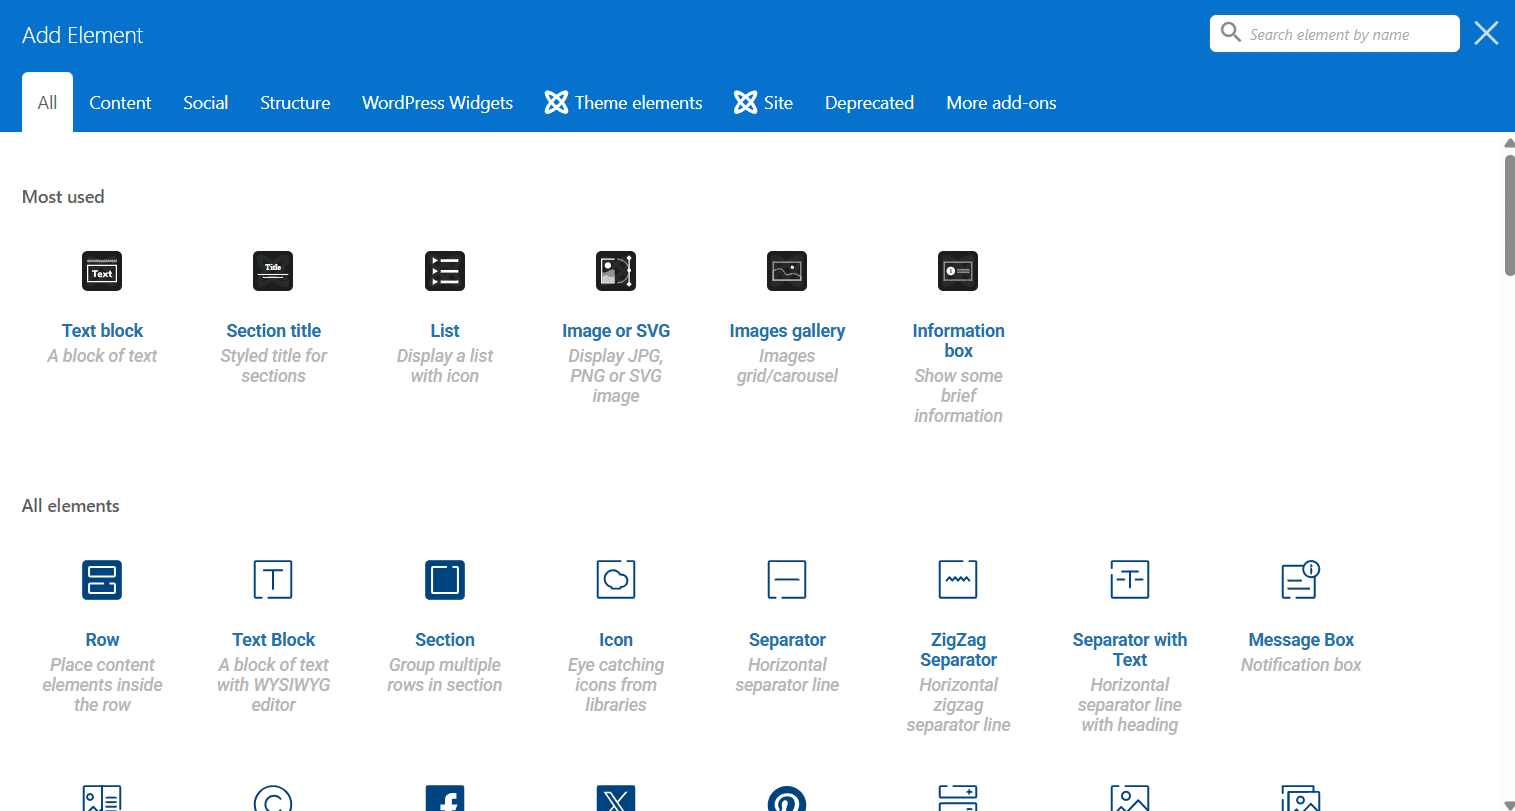
Below that, you can start building the page by selecting your layout of choice (usually the default WordPress layout). From here, 3 options will appear, “Add Element”, “Add Text Block” and “Add Template”. Adding an Element will open a panel that contains all of the possible tools to use in page building. You can start building a page from here by clicking on whatever element you choose.
Adding a Template would open up a panel that contains a lot of preset layouts/sections. Using these would automatically “paste” in a section with Elements. After that, all you would need to do it rewrite the template’s dummy text/images with your own text/images.
Step 4: About Elements
Common Elements are:
- Section Title
- Text Box (Woodmart Version)
- Image/SVG (This also includes Image Gallery where you can add multiple images in a grid or make them into a carousel)
- Button (For adding links to follow)
- Information Box
- List
These elements are frequently used when making a page. There are multiple versions of the above elements depending on your Theme and Plugins but the easiest one to get familiarized with is the Woodmart version as it tends to offer a lot more customizations.
Step 5: Modifying Elements
Every Element has different customizable options, such as colors, fonts, borders, images and more depending on the element.
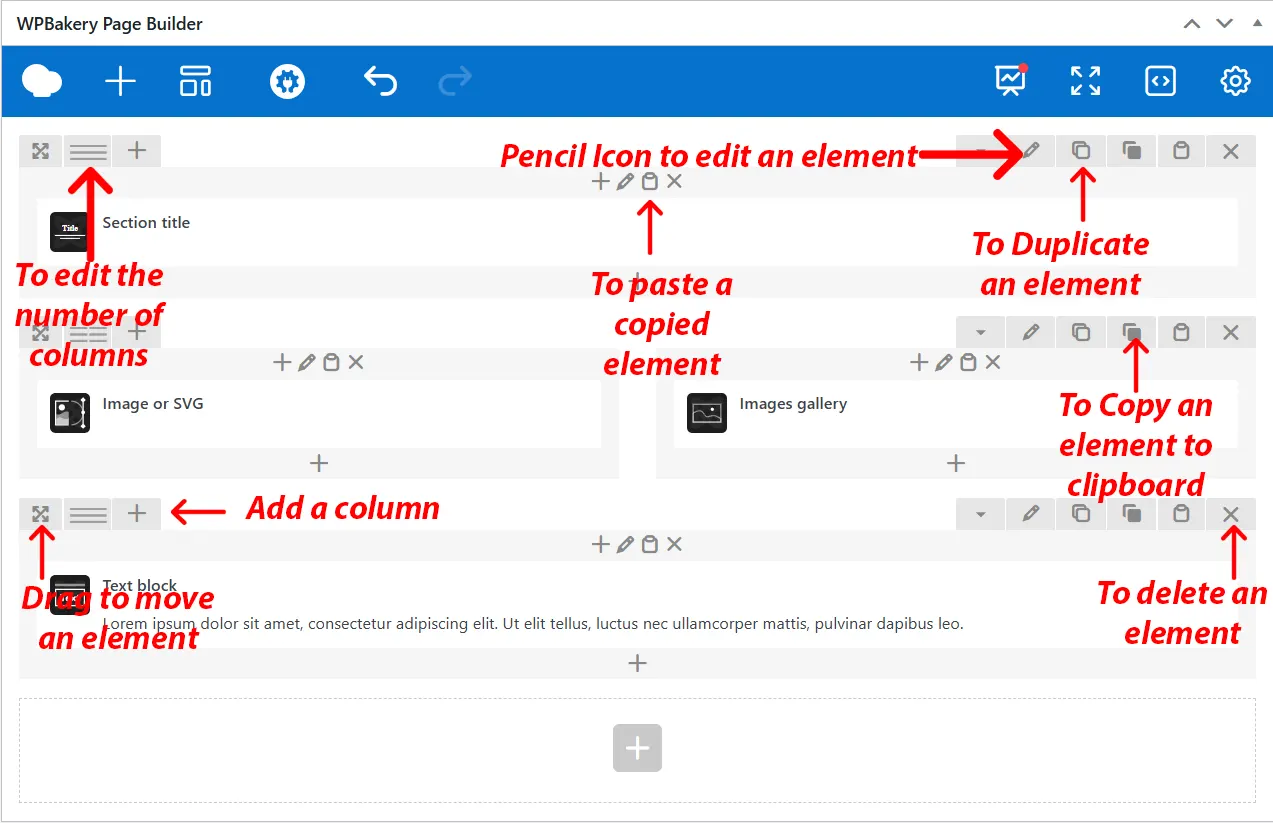
- To change the size of the row (number of columns) you need to hit the second icon on the left, then pick a layout or customize to make it your own.
- Use the pencil icon if you need to edit a Row, Column or Element.
- Use the pages Icon in case you need to duplicate a Row or an element.
- Use the trash box Icon if you need to delete Row, Column or Section.
These icons can be accessed by hovering over the element/widget.
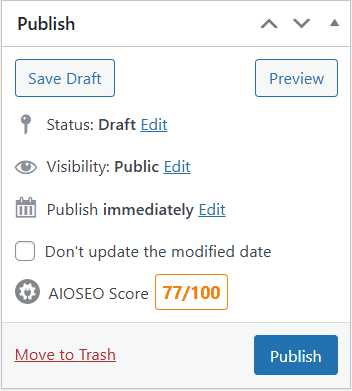
Step 6: Saving and Publishing
After building your page, you can save by clicking the publish button at the top right or the “Save Draft” button if you aren’t ready to publish it yet