How to Create a Page using Gutenberg Editor
On This Page
Gutenberg Editor
Step 1: Finding the ``Add Page`` button
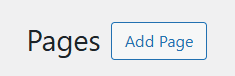
From the WordPress dashboard, go to WooCommerce → Pages → All Pages. This opens the full page list where you can search, filter, or scroll to find the specific page you want to update (if needed). At the top of the page click on “Add Page”.

Step 2: Basic Information
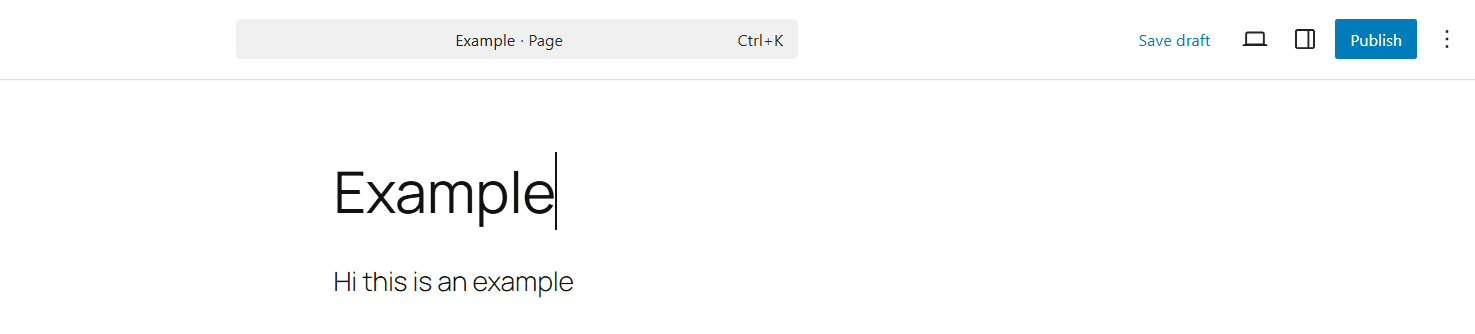
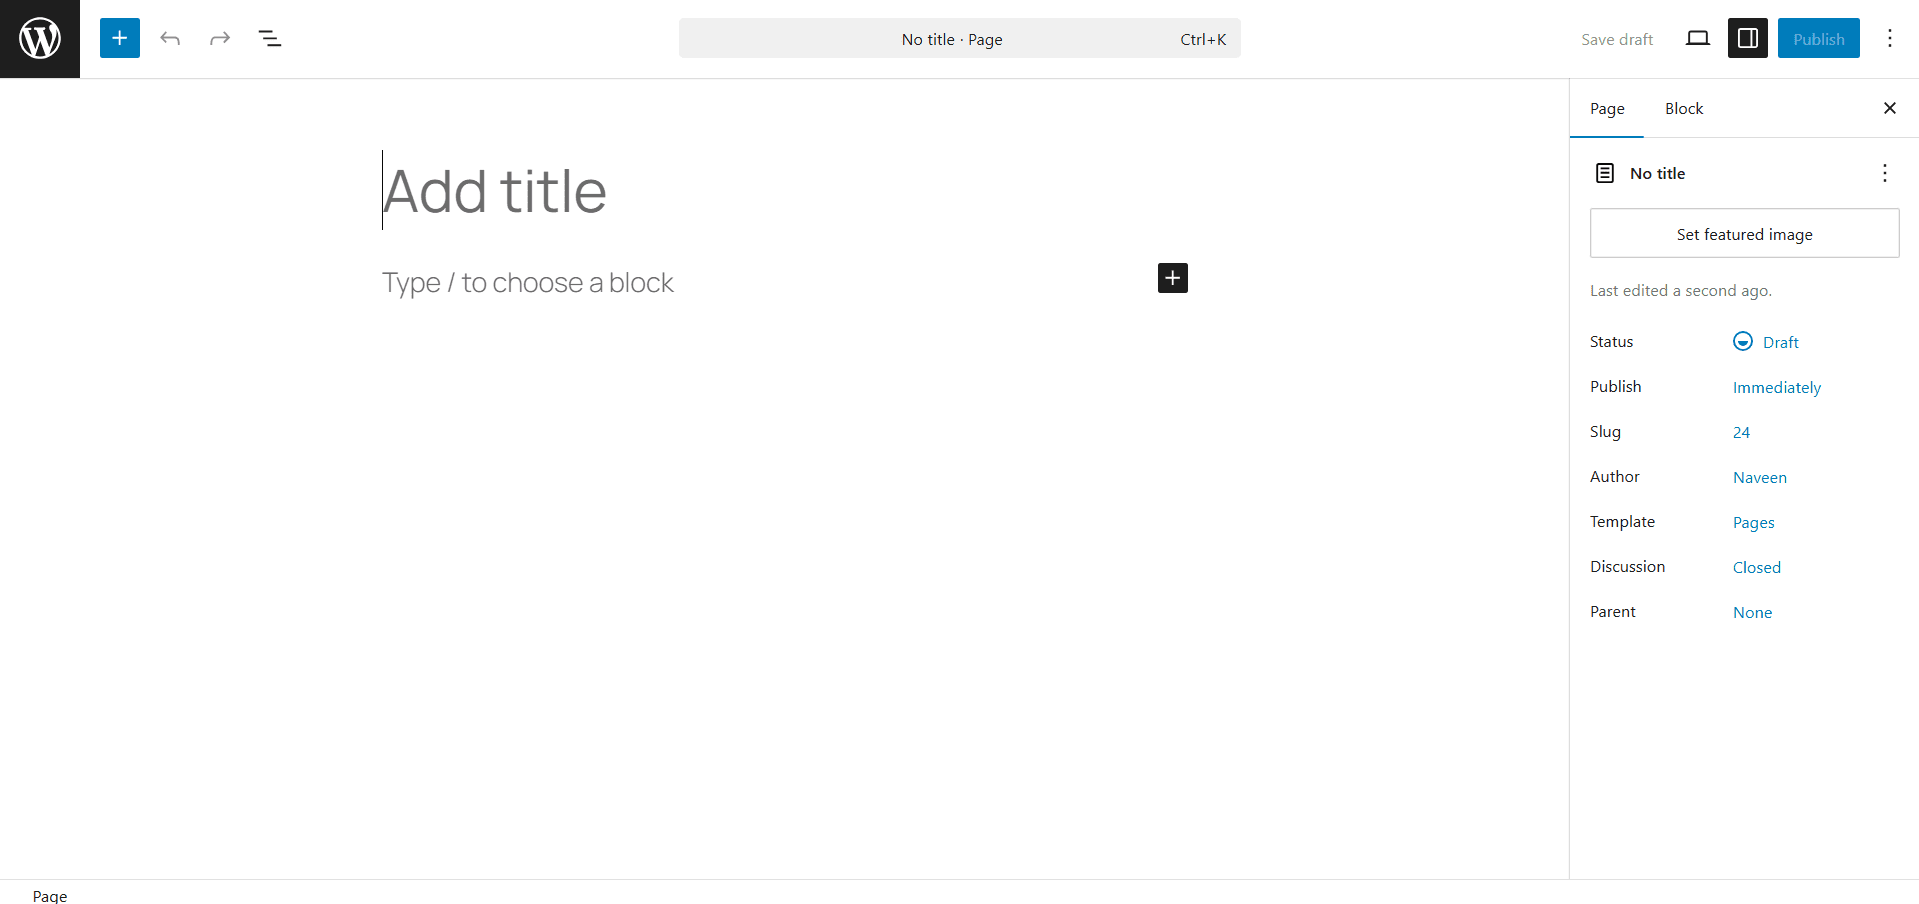
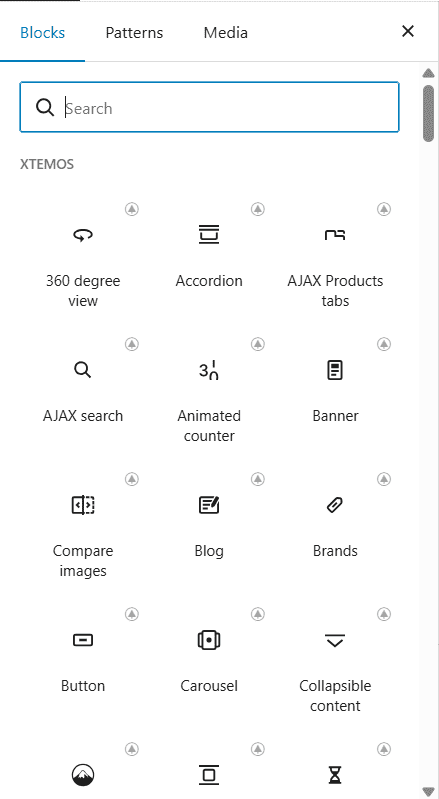
After clicking on “Add Page”, the page editor will open. From here, you can add a name to the page using the “Add Title” section at the top. By clicking on the “+” icon at the top left, you will see a menu with a search bar and 3 tabs, “Blocks”, “Patterns”, “Media”.
Blocks are individual elements like Images, Titles, Paragraphs while Patterns are a group of blocks organized by categories. Patterns vary by themes and plugins and can be as small as a couple of blocks and as big as an entire page.
Blocks can be added to the page by dragging them from the menu or by clicking on the page and typing “/” followed by your block of choice.
Step 3: Understanding the Different Blocks
Blocks are the core feature of Gutenberg. Each type of content is placed inside a block.
Common blocks include:
- Paragraph Block – Add and format text content.
- Heading Block – Create titles and section headings.
- Image Block – Upload or insert images.
- Button Block – Add call-to-action buttons.
- Columns Block – Arrange content in multiple columns.
- List Block – Create bullet or numbered lists.
- You can add blocks by clicking the “+” icon in the editor.
There are two versions for each of the aforementioned blocks, the standard Gutenberg version and the Woodmart version. The Woodmart tends to be more customizable than the standard version.

Step 4: Customizing a Block
Every block has its own settings. You can:
- Change text size and colors.
- Adjust spacing and alignment.
- Add background colors or gradients.
- Control margins and padding.
These options appear in the right sidebar when you select a block.
In addition to the customization menu on the right, each block has a panel above them after you click on them. This panel has a lot of different options which, depending on the block, allows you to move it, transform it into a different block and change the object which you are editing (allows you to edit the row/column if needed). All blocks also have a menu option in the form of 3 vertical dots. There are a lot of different features on the menu but the most important ones are the options to duplicate and delete the block if needed.
Step 5: Saving and Publishing
After building your page, you can save by clicking the publish button at the top right or the “Save Draft” button if you aren’t ready to publish it yet